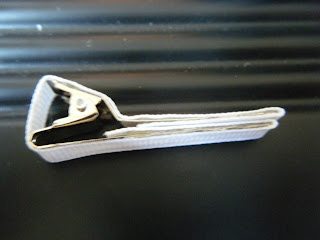
Here is what you will need... Hair clips- I purchased box of 80 clips for around $6 from Sally Beauty Supply. Ribbon- I purchased mine from Michaels and they ranged from $1-$3 a spool. You will also need a glue gun, lighter, thread and needle for this project.
Start with using your glue gun to attach ribbon to your clips so that there are no sharp ends. You should use a lighter to singe the ends of your ribbon so that they do not fray. To do this just hold the lighter to the end of the ribbon but to not touch the ribbon with the flame, you want to hold it close enough so that it melts. Obviously an adult should do this portion of the project if you are working with children for this project. You should always be careful when working with fire and flammable products.
Next you will start to make the bows you want to use. You should also take a lighter to singe the ends of your ribbon on this step as well. I do not cut the length of ribbon until I make the shape of the bow and see exactly how much I will need. Once you have the bow shaped you should take your needle and thread and put it through the middle of the bow, wrap it around the entire middle of the bow loosely once or twice and then while holding the middle of the bow between your fingers pull the thread tightly- this will ensure that the bow pinches the way you want it to and that the ribbon does not turn in a direction that you do not want. Wrap the thread around a few more times and then tie it off.
You can now get creative at this step. If you want to add a knot at the middle to hide the thread just take a small piece of ribbon, knot it and glue the ends of the ribbon to the back of your bow. You can also add beads or buttons if you want, whatever you like would work. Once your bow is complete you will put hot glue to the top of your clip and attach it to the back of your bow.
Get creative, make different types and sizes of bows. I made quite a few and I thought I took pictures of all of them but they are not showing up on my camera. Oh well, have fun with this easy project :)


No comments:
Post a Comment